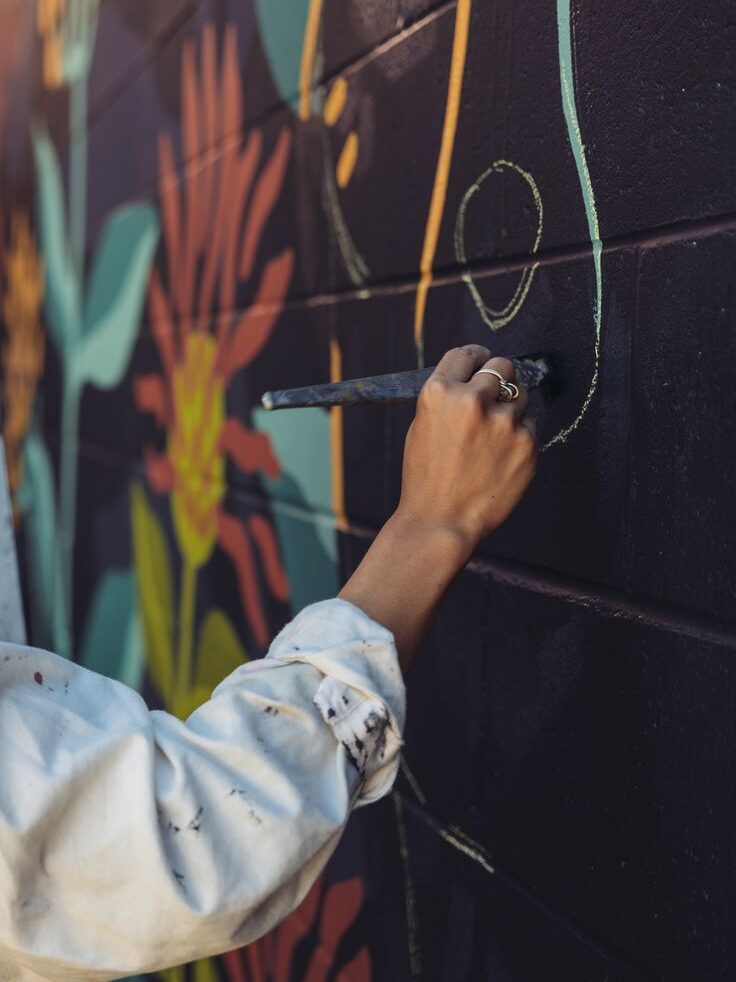
Creating a mural is not only about artistic skill, but also about proper wall preparation. If the surface is not ready, even the best design may not last long. Therefore, understanding how to prepare wall before mural is essential for durability and finish.
At Oikar Studio, we focus on strong foundations first, because a well-prepared wall ensures better paint adhesion and long-term quality.
Wall Preparation Before Mural: Why It Matters
Before starting any mural, the wall must be evaluated carefully. A poorly prepared surface can lead to cracks, peeling, or uneven textures. As a result, the artwork may lose its charm over time.
Moreover, proper preparation helps in achieving vibrant colors. It also ensures that the mural remains intact despite weather or interior conditions.
Steps to Prepare Wall Before Mural Painting
1. Clean the Surface Before Mural Painting
First, remove dust, grease, and dirt from the wall. You can use a mild detergent or a dry cloth depending on the condition. If the wall is not clean, paint will not stick properly.
Additionally, ensure that the surface is completely dry before moving forward.
2. Repair Wall Surface for Mural Work
Next, inspect the wall for cracks, holes, or uneven areas. These imperfections should be filled using wall putty or filler.
Once the filler is applied, allow it to dry fully. After that, sanding should be done to create a smooth surface.
3. Sanding in Wall Preparation for Murals
Sanding plays a crucial role in preparation. It helps in removing rough patches and old paint layers.
As a result, the wall becomes even and suitable for mural work. However, sanding should be done gently to avoid damaging the base.
4. Apply Primer Before Starting a Mural
After sanding, primer must be applied evenly. Primer improves paint adhesion and enhances color brightness.
Furthermore, it prevents moisture from affecting the mural. Usually, one or two coats are sufficient, depending on the wall condition.
5. Final Check in Wall Preparation Process
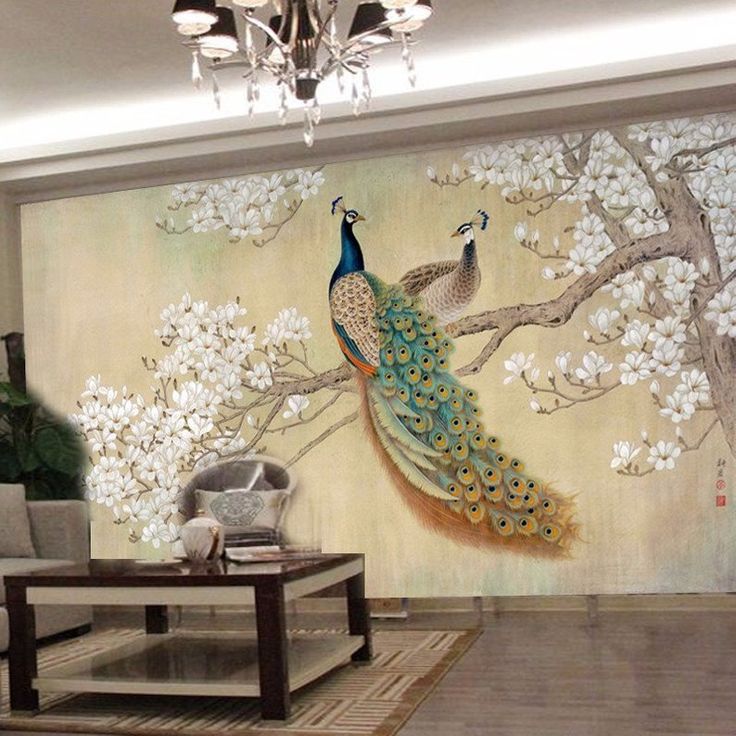
Before starting the artwork, review the wall texture and background color. A smooth and neutral base often works best for most mural designs.
In addition, the base color should complement the concept of the mural.
Mistakes in Wall Preparation Before Mural Painting
Many people skip important steps, which can affect the final result. For example, ignoring small cracks may lead to bigger issues later.
Similarly, applying paint on a damp wall can cause peeling. Therefore, patience during preparation is necessary.
Expert Tips for Mural Wall Preparation
At Oikar Studio, we follow a structured process for every mural project. Firstly, we inspect the surface condition. Then, we choose the right materials based on the wall type.
Moreover, we ensure proper drying time between each step. This approach guarantees a premium finish and long-lasting artwork.
Conclusion
To sum up, knowing how to prepare wall before mural is the foundation of any successful mural project. While artistic skills bring the design to life, preparation ensures that it stays beautiful for years.
If you are planning a mural, do not overlook these steps. A well-prepared wall always leads to better results.
FAQs
How to prepare wall before mural painting at home?
Clean the wall, repair damages, sand the surface, and apply primer before starting the mural.
Can I paint a mural on an old wall?
Yes, but the wall should be properly cleaned, repaired, and primed for best results.
Which primer is best for mural walls?
Acrylic-based primer works well for most interior and exterior mural surfaces.
How long should wall preparation take?
It usually takes 1–2 days depending on wall condition and drying time.
Latest Posts
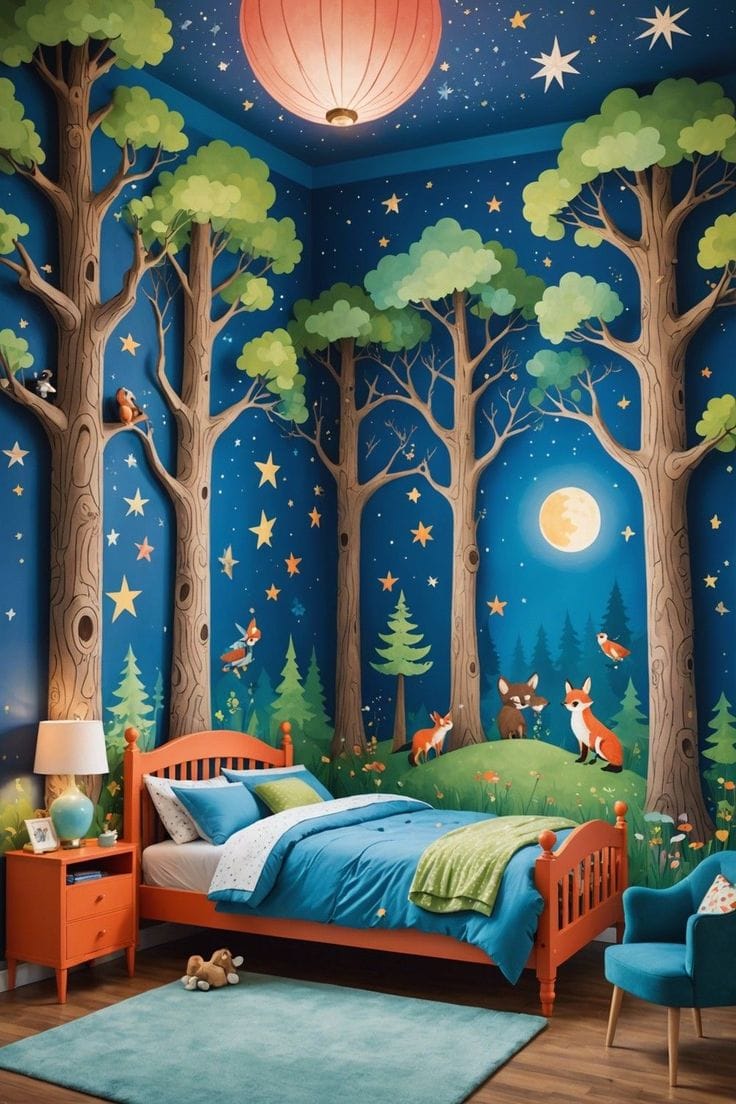
Kids Room Wall Painting Ideas That Spark Creativity and Joy
Designing a child’s room requires creativity, imagination, and thoughtful color choices. Kids room wall painting plays an important role because […]
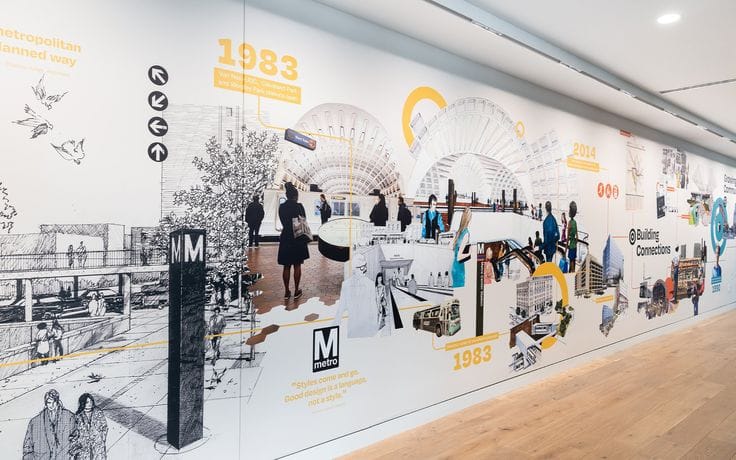
Office Team Workstation Mural Ideas
Office Team Workstation Mural Ideas are becoming increasingly popular as companies look for creative ways to design inspiring workplaces. Modern […]
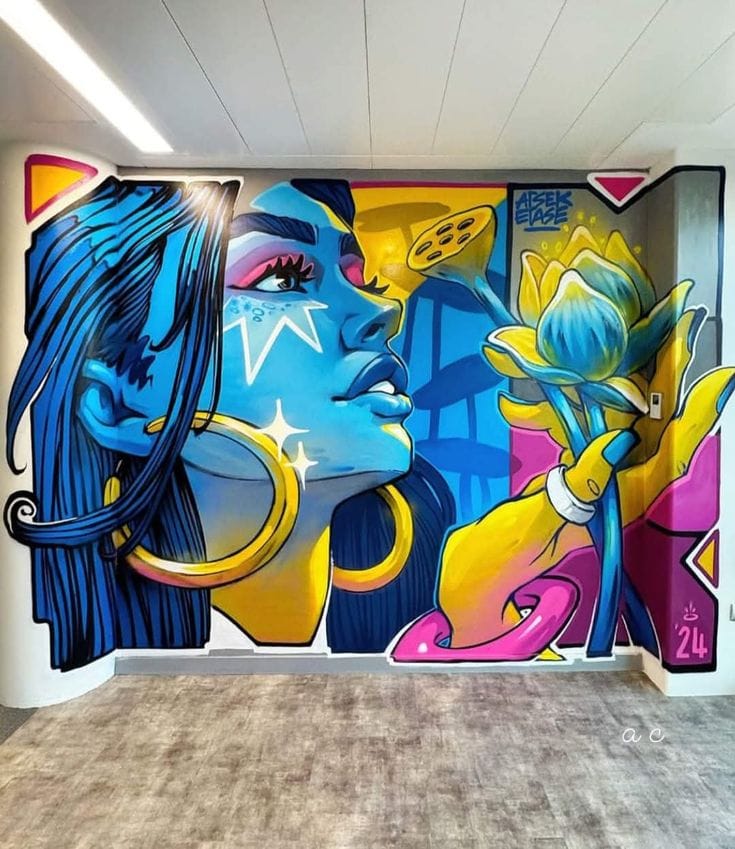
Best Paints for Wall Art: A Practical Guide for Stunning Murals
Wall art depends on more than creativity. The type of paint used on the surface also determines how the artwork […]
Best Mural Painter Near Park Street: Custom Wall Art for Homes & Businesses
If you are looking for the best mural painter near Park Street, choosing an experienced artist is important for achieving […]
Mural Painter Near Howrah Bridge: Custom Wall Art for Homes & Businesses
Mural Painter Near Howrah Bridge for Custom Wall Art Howrah Bridge is one of the most iconic landmarks in Kolkata. […]
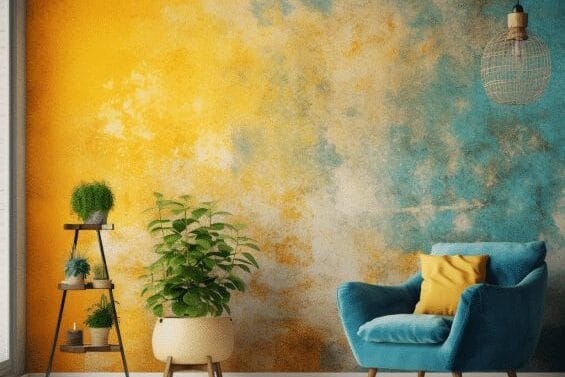
5 Living Room Wall Mural Ideas for Small Spaces
Decorating a compact living room often feels challenging. When homeowners search for top 5 living room wall mural ideas for […]